Switching from Android to iPhone is stressful when you’re worried about losing your photos, contacts, and messages stored throughout the years. I’ve been through the process, and this guide will cover every method to transfer data from Android to iPhone without losing any data in 2026. Just follow the steps, and it’ll be done within an hour.
What Data Can You Transfer from Android to iPhone
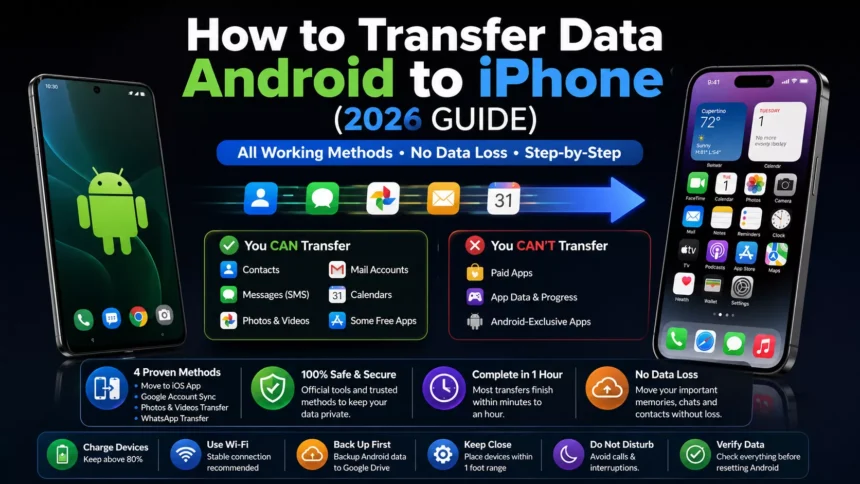
Before you head towards the data transfer, I would like to share all the details on what can and what can’t be transferred during this process.
Here’s what you can transfer:
- Contacts — All your saved phone numbers and email addresses can be transferred.
- Messages — SMS text history (only old texts).
- Photos and videos — All photos and videos from your old Android device.
- Mail accounts — All Gmail and other email accounts can be linked easily.
- Calendars — You can sync Google Calendar events to your iPhone.
- Some free apps — If your Android app is present in the App Store, then the data transfer will work for it.
Here’s what won’t transfer directly:
- Paid apps — All paid apps need to be repurchased on the App Store.
- App data and progress — Your game data and in-app data hardly carry over.
- Android-exclusive apps — If any app doesn’t have an iOS version, then it can’t be transferred to an iPhone.
I just wanted to make sure you know what can be transferred and what can’t before going forward with the actual process. But for most of you, this guide will work, as photos, videos, and messages can be successfully transferred from Android to iPhone.
Things to Do Before Transferring
I almost made a mistake during the data transfer. So I advise you to follow these steps to prepare your devices for a successful data transfer, as it won’t take more than 5 minutes.
- Charge both devices: It is advised to charge both Android and iPhone to at least 80% before the data transfer. If the phone switches off mid-transfer, then all of your data will be lost.
- Connect to Wi-Fi: Both Android and iPhone need to have a stable Wi-Fi connection. I wouldn’t suggest using mobile data in case of large data transfers.
Method 1: Using Move to iOS
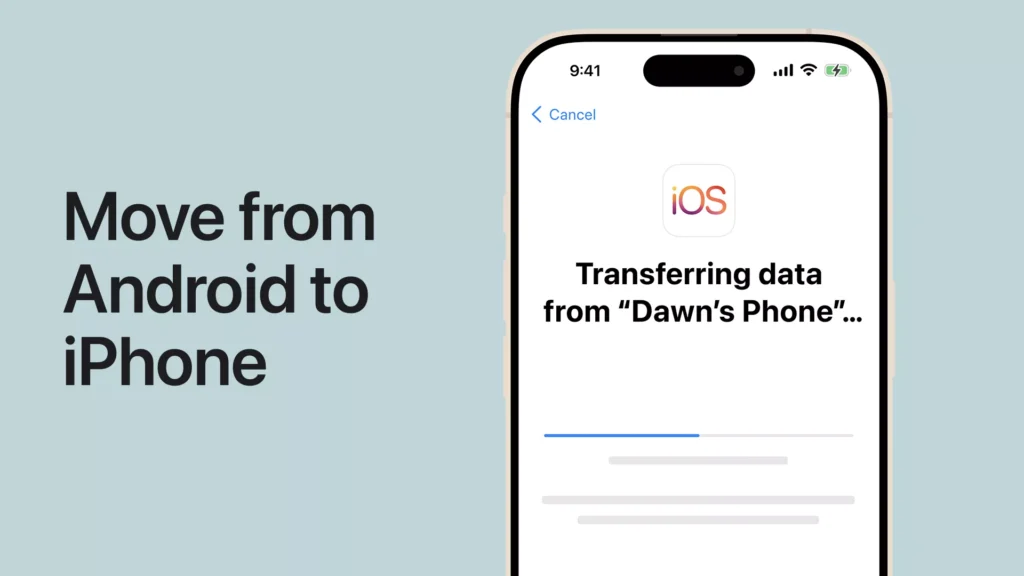
Move to iOS is an official free app by Apple used for switching data from an Android device. This is the most used and simplest method to transfer data from Android to iPhone, and I recommend it to you.
Here’s the step-by-step guide that you can follow:
Step 1: Set Up Your New iPhone
Power on your new iPhone and follow the setup process on the screen. After completing the initial steps, when you reach the “Apps & Data” screen, click on “Move Data from Android.” This step activates the Move to iOS transfer mode on your new iPhone.
You need to follow this step to successfully transfer the data using the Move to iOS app. In case you’ve already set up your iPhone, it’s mandatory to factory reset your device to use this method.
Step 2: Install the App on Android
On your Android smartphone, open the Google Play Store and search for the app “Move to iOS“. Download it and open it. Click on Continue, then agree to the terms of the app. Your Android device should be connected to Wi-Fi before moving forward.
Step 3: Enter the Code
On your new iPhone, tap Continue – A 10-digit code will appear on the screen. Enter that code in your Move to iOS app on your Android device. This step pairs both devices on a private Wi-Fi network created by your iPhone. Keep your devices close to each other during this step.
Step 4: Select Data to Transfer
Once they are connected, you’ll see a list of files to choose from for transfer. Select what data you want to move to iPhone:
- Contacts
- Message history
- Camera roll (photos and videos)
- Mail and calendar accounts
- Free apps (if available on App Store)
Click on Continue after selecting what to transfer.
Step 5: Complete the Transfer
The transfer will start, with a progress bar appearing on both Android and iOS devices. I advise you not to touch either of the two phones during this process. Keep them close, connected to Wi-Fi, and plugged in during the process.
According to Apple’s official Move to iOS support page, the time for the transfer depends on the file size. It can be done within minutes, but for large libraries it can go up to hours.
When the progress bar completes, click Done on Android and Continue on your iPhone. Your Android data is now successfully transferred to your new iPhone.
- Update both phones: On your Android device, go to Settings → Software Update. On your iPhone, go to Settings → General → Software Update.
- Update both of them to the latest OS versions to avoid any compatibility issues.
- Back up your Android data: Before starting, back up your Android device to Google Drive. To do this, go to Settings → Google → Backup and click on Back Up Now.
- According to Google’s official support documentation, a full device backup protects your data if anything goes wrong during the transfer.
- Disable iMessage if you’re keeping your number: If you’re planning to keep your number on the iPhone, it is suggested to first turn off iMessage on any of your previous iPhone devices to protect from data loss during the transfer. You can follow Apple’s official guide to turn off iMessage.
Once you complete all five steps above, you’re good to start the data transfer from Android to iPhone.
Method 2: Transfer Using Google Account
If you have already set up your iPhone and can’t go with the Move to iOS method, don’t worry. Your Google Account is the best and easiest way to move important data like contacts, mail, and calendar from Android to iPhone.
Here’s how it can be done in three easy steps:
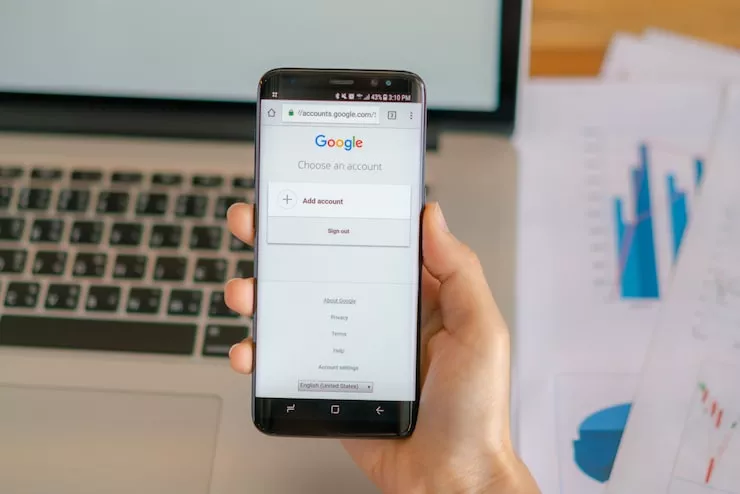
Sync Contacts with Google
The first step is to back up all of your Android contacts to Google. To do this, on your Android, go to Settings → Google → Backup and see if Contacts is toggled on. Click Back Up Now to sync all your Android contacts with Google immediately. By following this, you’ll have all your Android contacts saved to your Google account — not to your phone.
Add a Google Account on iPhone
On your iPhone, open Settings → Mail → Accounts → Add Account. Select the Google option, then sign in with the same Google Account you use on your Android to save the contacts. Your iPhone will now ask which services you want to sync.
Sync Mail, Calendar, and Contacts
Check Contacts, Mail, and Calendars — then tap Save. After a few minutes, all your Google contacts, Google Calendar events, and Gmail inbox will appear on the iPhone. This method doesn’t require any cable, app, or external system to work — it’s just your Google account.
When I tried this method, it took only three minutes to sync all my 1,200+ contacts to my new iPhone.
Method 3: Transfer Photos and Videos
Loss of photos and videos is the biggest concern for many when switching from Android to iPhone. But you don’t have to worry about it, as there are two clean ways to transfer photos and contacts from Android to iPhone.
It just depends on the amount of storage you’re working with in this method.
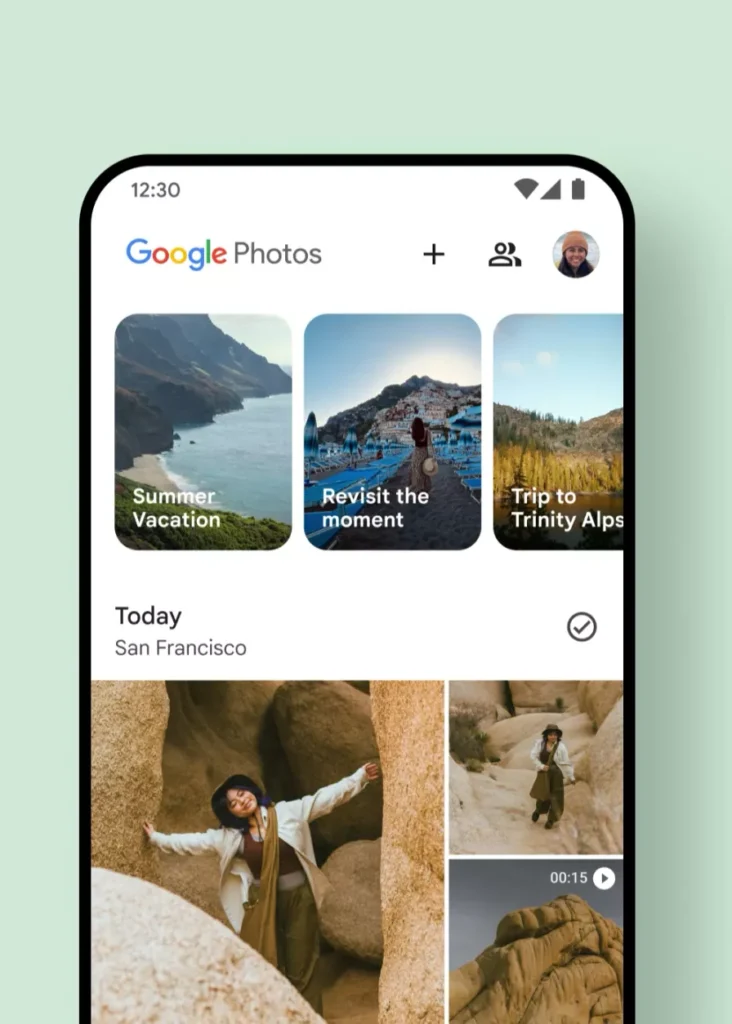
Using Google Photos
This is my personal favourite method and the simplest one for any beginner doing the data transfer.
On your Android device, download Google Photos from the Play Store if you don’t have it. Sign in with your Google Account and turn on Backup from the settings. Go to Photos → Library → Backup and wait for your entire camera roll to upload to the app.
Now, on your iPhone, download Google Photos from the App Store and sign in with the same Google account used on your Android. Now all of your photos and videos taken on Android can be accessed on iPhone without any problem.
According to Google Photos support documentation, you can use up to 15GB of free storage on a single Gmail account. If your data is larger, you’ll need a Google One plan starting at $2.99/month to keep all the data without any loss.
You can now use Google Photos as your default photo app on iPhone if you want. Or you can transfer your iPhone camera roll to iCloud Photos.
Using a Computer (Manual Transfer)
Some of you might not be comfortable transferring your data via cloud storage. A computer data transfer is the best option for such individuals.
Here’s the complete process step by step:
- Connect your Android phone to your PC via a USB cable. Click on your device name and enter the DCIM folder.
- Copy all the data from your DCIM folder and save it to a new folder on your PC.
- Now disconnect the Android device and connect the iPhone to the PC via a Lightning cable.
- On a Mac, use Image Capture or Finder to import photos directly to your iPhone or iCloud Photos.
- On a Windows PC, use the Apple Devices app (formerly iTunes) to sync photos to your iPhone.
The best thing about this process is that it doesn’t require an internet connection at all, which removes the risk of data loss due to slow Wi-Fi.
Method 4: Transfer WhatsApp Data
WhatsApp transfers between Android and iPhone used to be a headache, but the latest process is very simple and straightforward. Follow the steps below to complete the data transfer through WhatsApp.
Official Transfer Option
WhatsApp now supports direct Android-to-iPhone transfers using the Move to iOS app. This is the only method that moves your full chat history, media, and voice messages without any data loss.
According to WhatsApp’s official support page, this method works on devices with Android 5 or later and iOS 15.5 or later for iPhone.
Backup and Restore Steps
Follow these steps in order to get the data transfer right:
On your Android:
- Open WhatsApp and go to Settings → Chats → Chat Backup.
- Click Back Up and create a fresh local backup.
- Keep WhatsApp open and do not delete it.
On your iPhone:
- Start with the iPhone setup process from the Apps & Data screen.
- Select the option Move Data from Android to launch Move to iOS.
- On your Android phone, open the Move to iOS app and connect both devices using the code displayed.
- When you see the data selection screen, select WhatsApp from the list.
- Click Start on your Android device — WhatsApp will now prepare your chat history for transfer.
Complete the transfer:
- Once Move to iOS finishes its process, your iPhone will ask you to install WhatsApp from the App Store.
- Install WhatsApp, open it, and verify your phone number.
- Your complete chat history will be restored automatically without any issue.
Note: Do not open WhatsApp on your Android device after starting the data transfer. If you do, some of the data might be lost, and the transfer may stop progressing.
When I tested this method, a 3-year chat history with hundreds of photos was transferred successfully in about 20 minutes.
Common Problems and Fixes
Sometimes the transfers don’t go as planned due to some common reasons. Here are the most common issues and how you can fix them.
Transfer Stuck or Failed
This is the biggest issue reported by the majority of users regarding Move to iOS.
What causes it:
- An app notification or call during transfer interrupts the process.
- One of your devices left the Wi-Fi network during the data transfer.
- The Android device switched off due to low battery.
How to fix it:
- On your iPhone, go back to the Apps & Data screen (factory reset the device if needed).
- Restart both Android and iPhone and reconnect them to a stable Wi-Fi network.
- Put both devices on Do Not Disturb before retrying the transfer.
- Keep both phones charged to 80% or more for uninterrupted transfer.
If the Move to iOS method faces multiple issues, skip it and use the Google Account method combined with Google Photos. This will help you recover all important data without any problem.
Devices Not Connecting
If your Android can’t find and pair with your iPhone during the Move to iOS method, it means the private Wi-Fi handshake between the two devices has failed.
Try these fixes:
- Keep both phones within one foot of each other.
- Turn off your Android mobile data during the transfer.
- Don’t use a VPN on either device during the process.
- Restart both phones and generate a fresh code on the setup screen of your iPhone.
According to Apple’s Move to iOS troubleshooting guide, turning off mobile data on the Android phone is the most effective solution for connection issues during data transfers.
Missing Data After Transfer
After a successful data transfer, some of your contacts, photos, or messages may not appear on iPhone. Use the following steps to solve the issue:
For missing contacts: Open Settings → Mail → Accounts on your iPhone and check if your Google Account is syncing Contacts. If not, enable that option.
For missing photos: Check Google Photos — sometimes photos and videos are available in cloud storage but are missing from your device’s local storage. On your Android, go to Google Photos → Library and confirm the backup is complete.
For missing messages: SMS history only transfers via the Move to iOS method. With any other method, your texts won’t carry over. Third-party apps like SMS Backup & Restore can recover message history manually in such cases.
For missing WhatsApp chats: First, make sure you confirmed your phone number in WhatsApp on your iPhone. If chats still don’t appear, uninstall and reinstall WhatsApp — you’ll see a backup option to restore from.
Tips for Smooth Data Transfer
I made a lot of mistakes before learning all the different methods, but now I can guide you to keep an eye on the following things for a smooth data transfer between Android and iPhone.
- Keep both devices close together — Keep both your Android and iPhone within one foot of each other. This allows the iPhone to successfully create a private Wi-Fi network between both devices.
- Avoid interruptions — Calls and notifications might interrupt the data transfer, so I recommend turning on Do Not Disturb mode on both Android and iPhone.
- Use a stable internet connection — It is very important to connect both devices to a strong Wi-Fi network, as mobile data is not advised for such transfers.
- Don’t use either phone during the transfer — Keep both devices as they are. Even opening or closing a single app can cause the data transfer to fail.
- Transfer overnight if your library is large — If you have 50GB or more of photos and videos, start the transfer at bedtime. Such large transfers can take hours and are best done overnight to avoid interruptions.
- Verify everything before wiping your Android — Once the complete data is transferred from Android to iPhone, take 10 minutes to check that all photos, videos, emails, and files are accessible. If everything’s fine, proceed to factory reset your old Android device.
Conclusion
The ideal method I recommend for transferring data from Android to iPhone is Move to iOS. This method is official, free, and fast, and handles all your photos, videos, contacts, messages, and WhatsApp data in a single process.
If you’ve already set up your iPhone, I recommend the Google Account method combined with Google Photos to cover all your data transfer needs.
Follow each step carefully and, most importantly, verify the data on your iPhone after transfer. After confirming everything is accessible, factory reset your old Android phone.
Frequently Asked Questions
How long does it take to transfer data from Android to iPhone?
It depends on the size of the data. For small transfers — contacts and messages — it can take up to 5–10 minutes, but for large file transfers, the time may rise to 1–3 hours, depending on the size of your data on Android.
Can I transfer apps from Android to iPhone?
With the Move to iOS method, you can get Android apps that are available on the App Store, but their data won’t transfer. Paid Android apps can’t be transferred; you have to install and log in manually.
Will my WhatsApp chats transfer to iPhone?
Yes, by using the WhatsApp transfer method, you can get all your Android WhatsApp chats on your iPhone.
Do I need a computer to transfer data from Android to iPhone?
No. Move to iOS and the Google Account method both work entirely wirelessly. However, if you prefer a method that doesn’t involve cloud storage, transferring data via USB using a computer is also an option.
What if the transfer fails?
First, restart both Android and iPhone, reconnect them to a stronger Wi-Fi network, and enable Do Not Disturb mode before starting the data transfer process again.